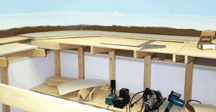

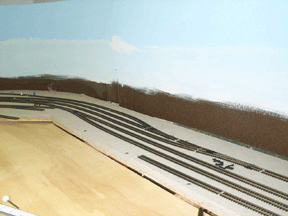
These photos show the bench work leaving the upper yard and handling the interchange. The main line starts a slight
climb once is turns the corner (left side of right photo below). Three tracks will be used at this interchange
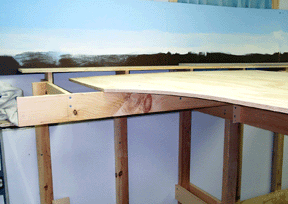
(center photo) which also will serve as the location for a passenger station and platform.
All trains will leave the yard with the power in the lead, then if your headed down the helix,
a run around will be needed to get set for the trip down.
The room is 14 feet wide in this location. The interchange will be near the wall, still leaving about 18" of bench for other trackwork which has not been designed.
|
|
|
 |
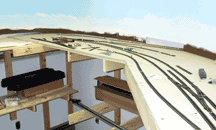
The single track in the upper portion of this photo will be hidden. It leads to the helix. As you might make out, there is a diamond located in the second track going down the helix and into the yard. This interlockling should make for some interesting dispatching! | |
 |
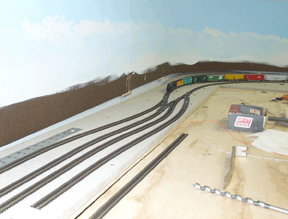 |
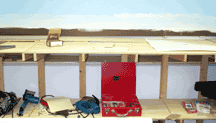
The photo above is the left end of the benchwork with the interchange having the two center tracks. The track stub will be to service business along the route to be built on the 4x5 foot extension shown below. The main, against the wall, is rising at the rate of 1.15% to get up about 2.5".
 |
 |
 |
 |
